MailChimp is popularly recommended if you want to build an email list to send updates to your subscribers whenever you have news on your blogs or new products released. It is extremely easy to use with great user interface and necessary functions. In this post, we will guide you how to integrate Mailchimp into your website to get more subscribers from your website visitors.
Why you need an email list?
If you still wondering why not just let people contact you when they want but you need to build an email list yourself, you shouldn’t hesitate anymore.
Email is private, personal, and by far the most direct form of communication on the internet. Most people check their inbox more than their social media streams. An email will stay in the inbox unless a user takes action on it. On social media, your message will get buried into user’s timeline.
Why integrate MailChimp into your WordPress site?
Over the years, we have found MailChimp to be one of the most beginner friendly email service. Why? Because it’s very easy to use and has tons of WordPress integrations.
It is also by far the most affordable for beginners because it is free as long as you send less than 12000 emails per month or have less than 2000 subscribers. This means you can get started right away without paying anything.
Aside from just capturing and sending emails, some other cool features of MailChimp allows you to setup RSS to email subscriptions, design beautiful email templates, set up auto-responders, and monitor the performance of your email campaigns with comprehensive analytics reports.
How to integrate Mailchimp with your site
1. Create MailChimp account
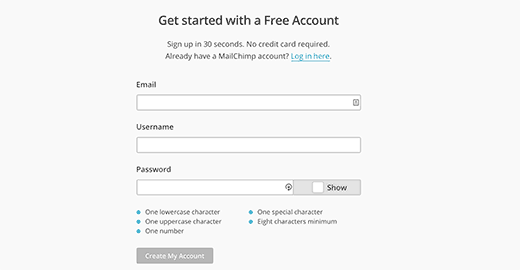
To connect MailChimp to your WordPress site, the first thing you will need is a MailChimp account. Visit MailChimp website and click on the ‘Signup Free’ button. Fill in your email and create a username / password for your account.

Once you are signed in, you will be redirected to your MailChimp dashboard.
2. Creating Your Email List
The first thing you need to do in your MailChimp account is to setup an email list. On your MailChimp dashboard, click on ‘Create A List’ button.

You will be asked to provide information like the name for your email list, an email address where users can reply to, a reminder for people how they got on your list, etc. Fill the form and click on the Save button.
That’s all, you have successfully created your first email list. Now you need to connect your email list to your WordPress, so your website visitors can subscribe.
3. Adding MailChimp Email Signup Forms in WordPress
MailChimp provides a built-in basic subscription form. All you need to do is go to the Lists page in your MailChimp account, click on the downward arrow button next to your email list and select sign up forms.

On the next page, you will see some of the form types you can generate. You need to click on the select button next to Embedded Forms.

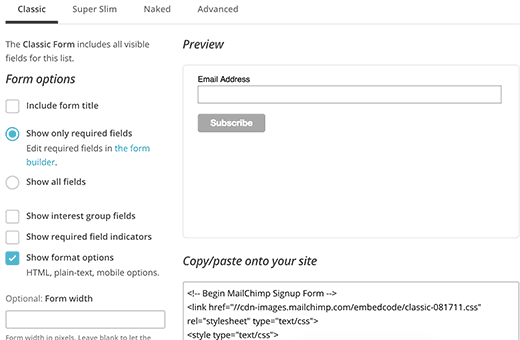
You will be taken to a settings page where you can choose what fields you want to show in your form, adjust form width and other options. When you are done, simply copy the embed code.

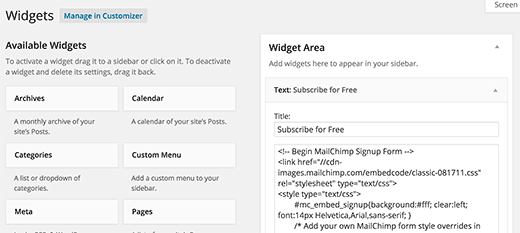
Now you need to visit your WordPress admin dashboard and click on Appearance » Widgets. Add a Text widget to a WordPress sidebar and paste the signup form code inside it.

Done. You can visit your site and see the MailChimp signup form for real now.

